Mar 1, 2015

Tree Spirits Winery: Curley Maple Bar Top Refinish


I was asked to refinish this curley maple bar top at Tree Spirits Winery in Oakland, ME by someone has has confidently been a repeat customer of mine. The old finish was a high gloss polyurethane oil base. I used the same finish, 4 light coats with lots of prep work before hand and light sanding between coats.


Step 1: Remove old Varnish 

I belt sanded with 80 grid to remove the old poly, then 120 grit when I got down to wood. 


Step 2: Hand Sand until respectably smooth

After belt sanding with the 120, I moved to hand sanding some of the heavier belt marks with 120. Then with 220 course grit, I smoothed out the table the long way so any scars would go with the grain. Next was was 320 course grit to remove scars from the 220. Finally and quickly just to over kill the smoothness I used 400 on the wood.  

Step 3: First Coat of Poly Applied


Step 4: Second Coat

             After each step I would sand with a 320 foam pad to get hairs off surface.


                    Step 5: Third Coat


                    Step 6: Final Coat 

                   Once this one is dry I will lightly go over it with 600 to make it smooth to the touch.


That was easy!


Building Concepts Course CMCC Week 19- Timber Frame Completed!


 It has been a long time coming. But our last week on our large timber frame has come. After hours of chiseling, drilling, notching, mortising, and assembling we have a very sturdy shed! This shed will be disassembled and has been sold already to a faculty member at CMCC.

Our final week was spent making purlins and cosmetic repairs. A Purlin is an longitudinal, horizontal, structural member in a roof framing system.

After we completed those five members in the roof we adjusted the overall width of the roof and then began sanding areas we scuffed with boots and chamfered all the interior edges of the timbers. A Chamfer is a detail applied with a router where you cut off the edge or corner of your wood.

Chamfer Style


Chamfered

Rough Edge


The Lamination Technique

This series photos illustrates a good technique that was exercised as a resort toward fixing a member of our timber frame that was cut poorly. This only works when the member, in this case it was our collar tie, is half blind meaning that what you see for a joint from one side does not reflect exactly how its joined. That is the best way I can describe half blind. So we ripped on the table saw the "bad cut" visual side of our collier ties away from the structure portion and laminated an acceptably cut new visual onto our structural.   


The result of the lamination (the horizontal member)

Miscellaneous Perspective Photographs 


COMPLETE!


CMCC Work Study: Storage Cabinet Unit for Aluminum Planks


Aluminum Stage-plank Storage Cabinet 
This was a little shop project long overdue in the BCT department. Every year the students in this department use these stage planks routinely throughout the semesters and every year until now they were stacked up and ratchet strapped together and stored openly somewhere. So the assignment was to complete a unit that would house all 24 planks and still be movable by one person and a fork lift. In the photo above you 'll notice two little square holes down at the base of the unit. Those are for the fork lift that the BCT department utilizes to move the majority of everything in the shop that is far to heavy to move with just man power.

I am in the unit assembling.
  

Feb 22, 2015

Building Concepts Course CMCC Week 18 - Timber Frame Rafters


Our timber frame project has an end in sight! This week we focused on rafters. The pictures above and the picture to the left illustrate the method of joinery that we exercised to bring our rafters together at the ridge. Tongue and Fork is the term for it. 
Tongue and Fork


You can see we dry fit them on the ground before erecting them on our building. Also for our birds mouth cut since their is not going to be any overhang assemblies we are going with a plane-old birds mouth cut only the plumb cut is on the opposite end-edge of the timber. This is because when it is in place, the rafter ca not slide off the plates or top girder. See the photos below to better understand what I am trying to explain.


Feb 14, 2015

Building Concepts Course CMCC Week 17- Timber Frame Knee Braces


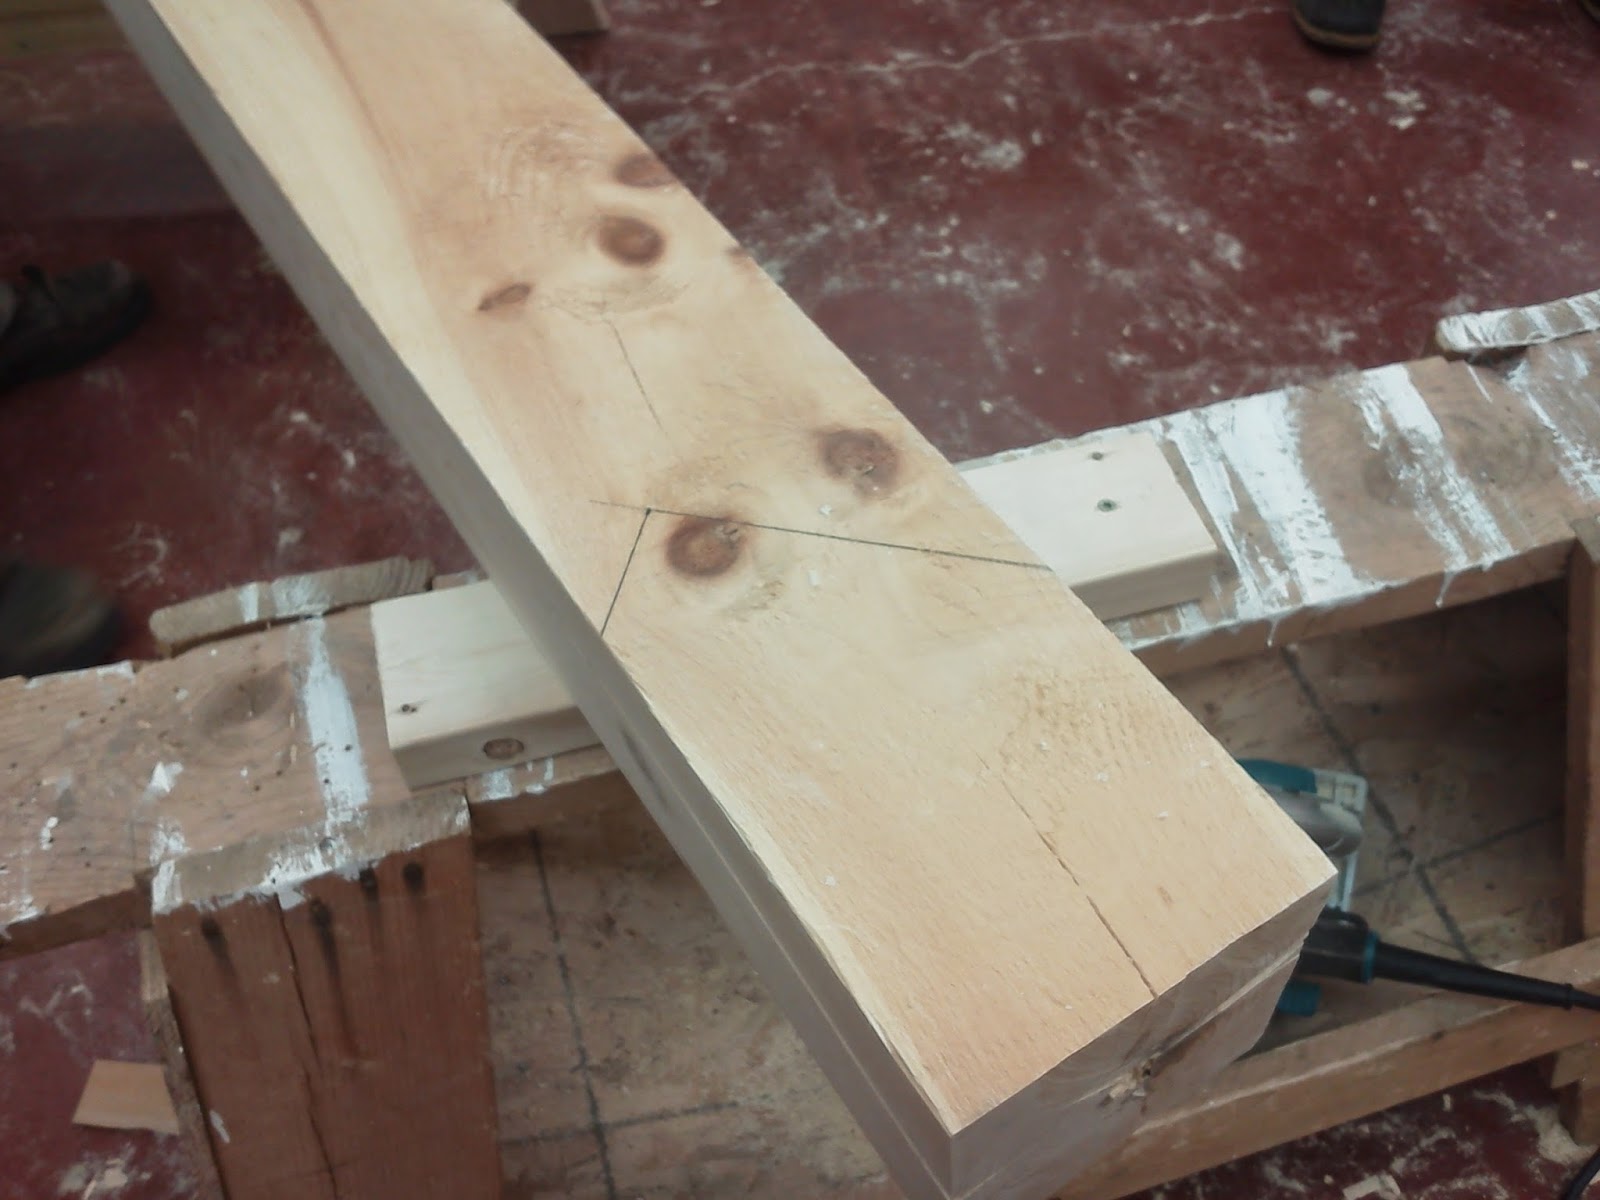
This week was devoted much of our time toward creating knee braces for the long walls of our timber frame. The purpose of these knee braces is to keep the long walls of the structure held square and also to offer support. Unlike the other knee braces we joined these 4 knee braces from the outside in instead of the true mortise (hole) and tenon (tongue) style joinery. Before any assembly happened their was a lot of planing and joining of the timbers to get them square and straight.