


Aluminum Stage-plank Storage Cabinet

 |
| I am in the unit assembling. |

|
| I am in the unit assembling. |


 |
| Tongue and Fork |
 You can see we dry fit them on the ground before erecting them on our building. Also for our birds mouth cut since their is not going to be any overhang assemblies we are going with a plane-old birds mouth cut only the plumb cut is on the opposite end-edge of the timber. This is because when it is in place, the rafter ca not slide off the plates or top girder. See the photos below to better understand what I am trying to explain.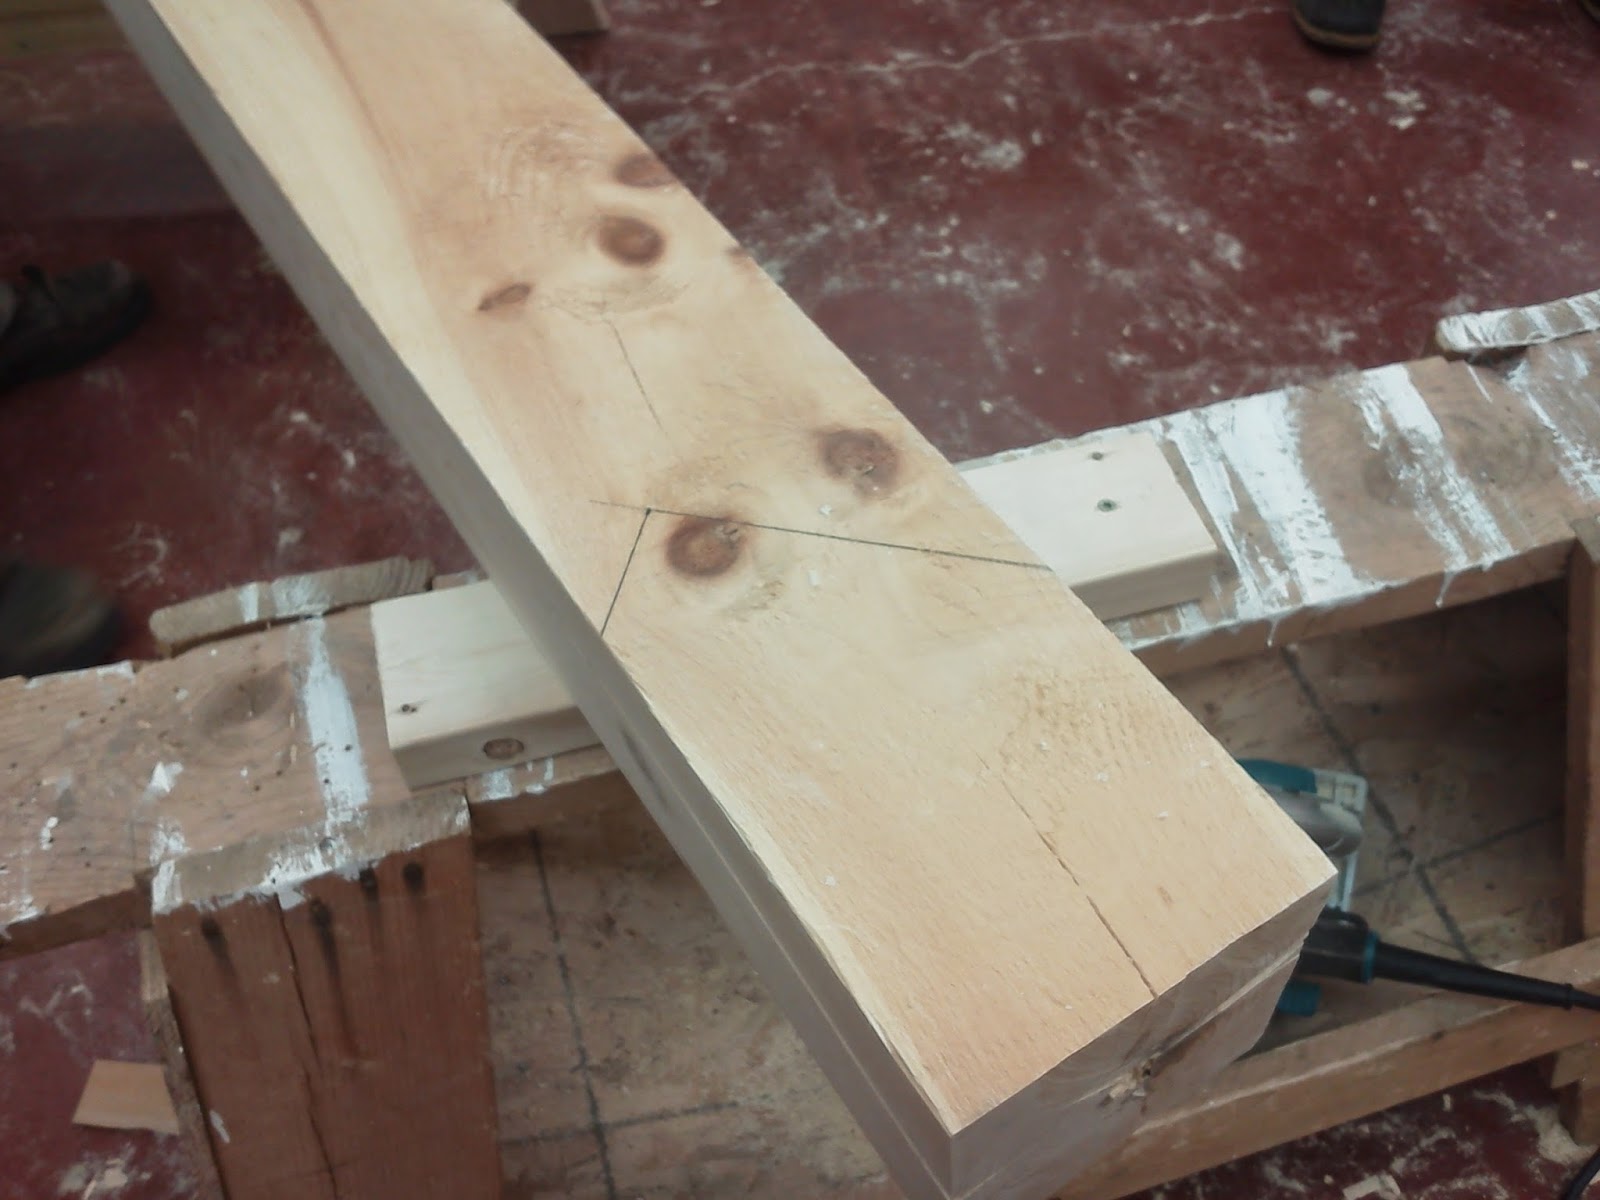


 This week was devoted much of our time toward creating knee braces for the long walls of our timber frame. The purpose of these knee braces is to keep the long walls of the structure held square and also to offer support. Unlike the other knee braces we joined these 4 knee braces from the outside in instead of the true mortise (hole) and tenon (tongue) style joinery. Before any assembly happened their was a lot of planing and joining of the timbers to get them square and straight.


 This week our focus we set on completing the Hip/Valley Roof System mock up. Our tasks were to calculate the five different hip/valley member ahead of time with given building dimensions. Based on what we have been taught about determining opposite interior and exterior angles inside of a rectangles.


