 Here is the sketched plan I emailed her to be sure she and I were on the same page for what the outcome was to be.
  This is the deck on the side of the home that had more thought put into its design. This was my template for the construction of the new front deck and stairs. I aimed to make the steps I built to look complimentary to these.
 |
| Mortise and Tenon |
 Here you can see I chose to mortise and tenon the top and bottom rails on both the deck railings, using a router.
I pre-fabricated the deck and stairs in my garage before I installed it. By building it this way I was allowed more time to construct it and make changes/adjustments as needed. Doing some of these things at a clients house may take more time as you might not carry that tool or have that vice. Also doing this made it a breeze to install, It broke down into 6 movable pieces.
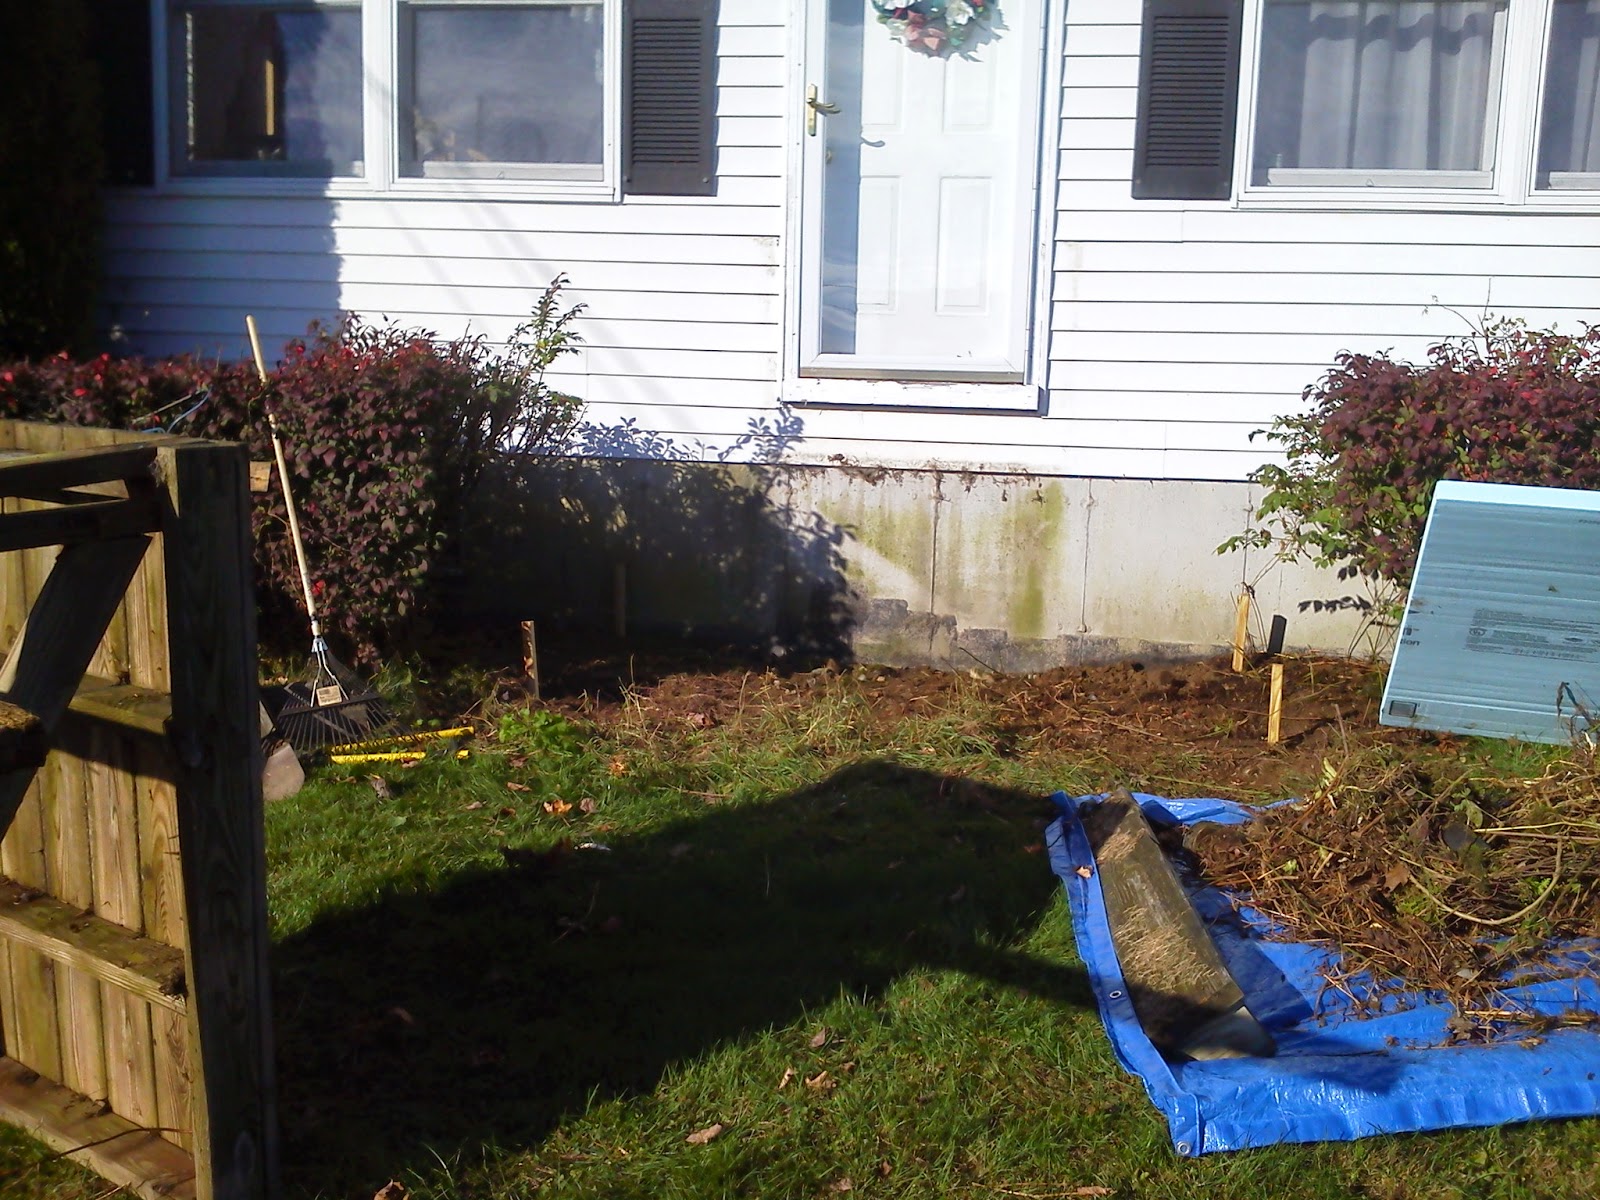
 Here I am pluming in the door to the posts in the ground that will be evenly spaced to hold the deck.
 |
| Doesn't get any better then that! |
 |
| Picking up nails! |
The finishing touch!
If when your done putting all of this nice wood together and the client gets a nice big splinter because of those well built wood railings then she will be painfully reminded of the first time she went up them if they aren't soft to the touch.


0 comments:
Post a Comment