|
| This is the desk I have tailored the drawing table to fit onto. |
This is an adjustable easel and board stand for a drafting machine. I was gifted a MUTOH brand drafting machine from my brother. I did not have the space for a second desk area and I researched some ideas for what others had constructed for tables. I found one that was within my budget and capability. In the photo above is my current working desk, an antique roll-top 66" long. Having that large of a desk encouraged me to find a way to make something that would co-operate with this drafting machine. What I constructed is an adjustable easel and it is only held in place on my roll top desk by gravity, no screws or nails in the desk. Initially I was worried the weight would pull the table forward off the desk but the triangular easel that forms the back bone of the table transfers the weight downward perfectly, created a great drawing station.

This is the machine up close.
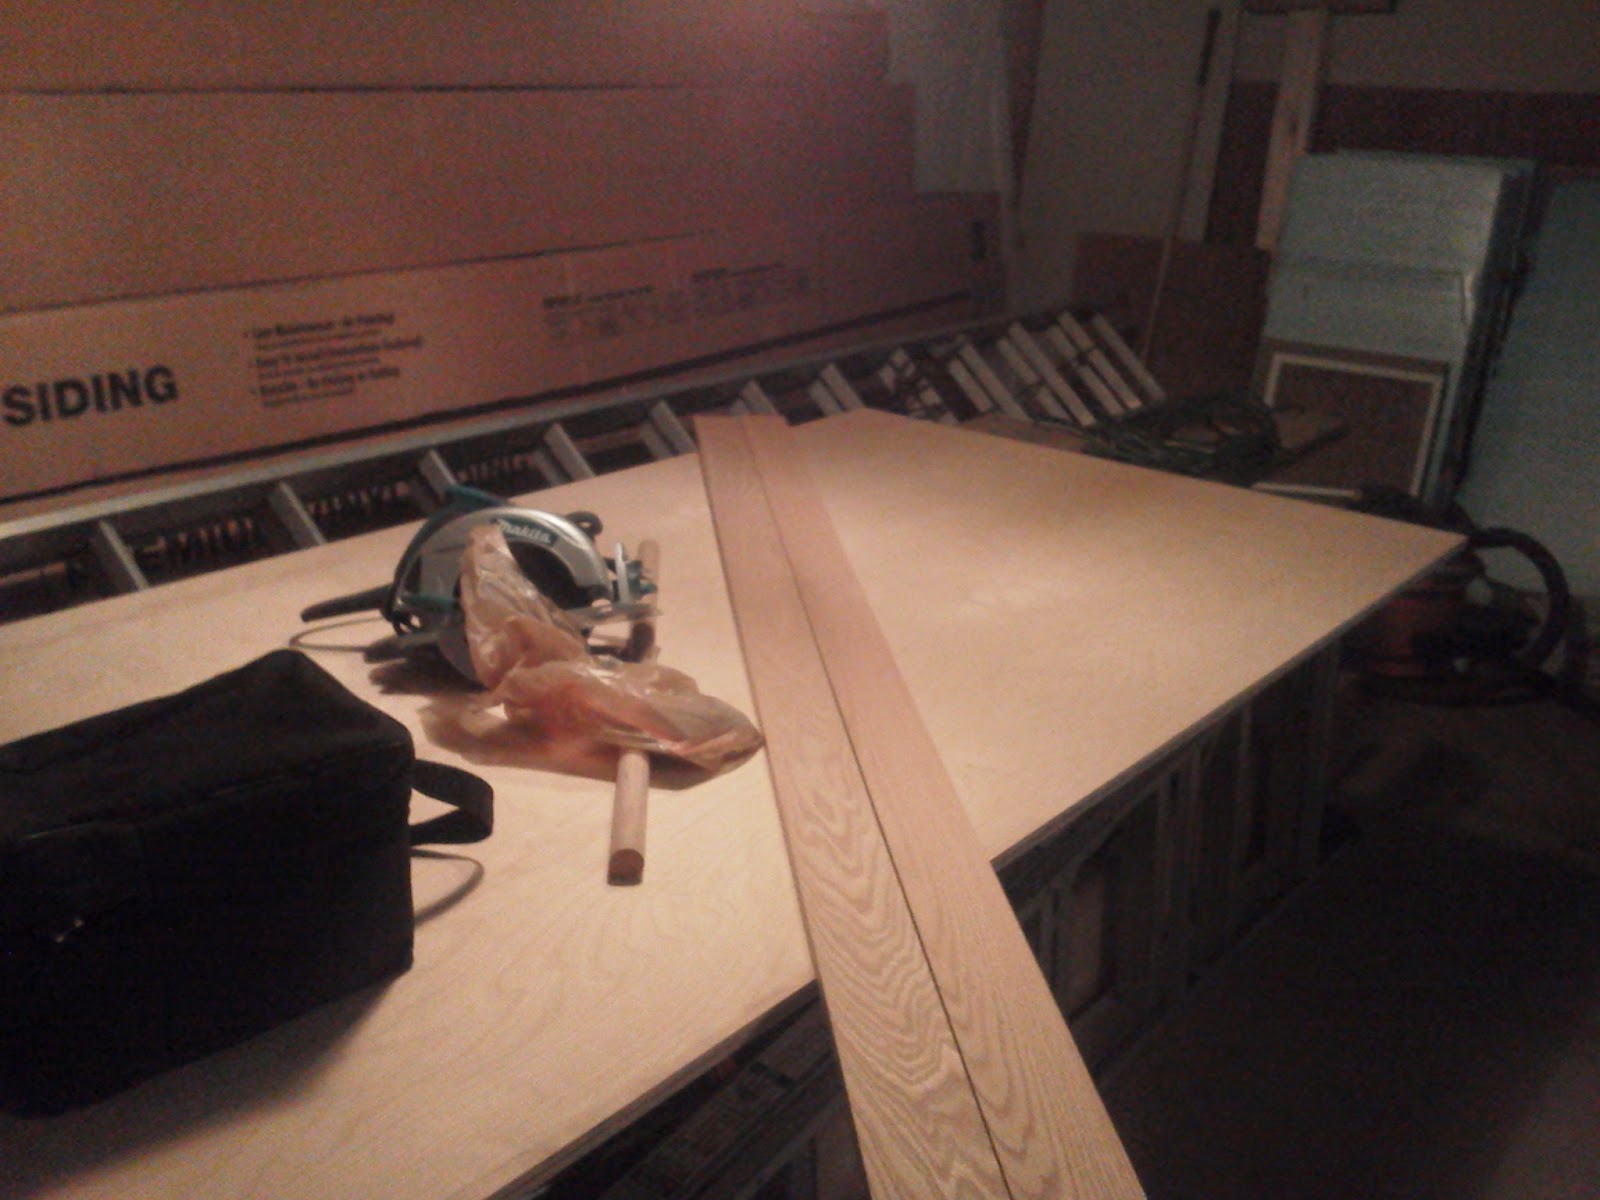
The material I started with, (1) sheet of 3/4" maple cabinet grade plywood, (2) 8' ft 1" x 4" Oak boards, (1) oak dowel, and a set of small hingles.

Here you can start to see what part of the table will sit on top of my desk and how its adjustable.

The lip on the bottom I added for catching pencils and holding papers and I cut out some wood were the machine could not reach on the left of the board and by doing that it granted me more access to the things behind the table on my desk, as well as more ease in adjusting the angle of the table. Excellent result and I have already used it for work and school. Thanks to the instructor of mine at CMCC for giving me the scale rules which are the vertical and horizontal rulers on the machine, I was able to completely assemble and use it.


 These are the photos from the beginning of the job and the siding that was on there is a masonite-type hardboard. It's composition is very similar to medium density fiberboard. The siding was quiet popular when it first came out as it was supposed to be a "for life" siding but the ends of each siding piece eventually would swell and so after 30 years the siding did not look as good anymore.


 CMP came and wrapped where the power line ties on to the house and floated the meter boxes.


 Then the vinyl siding was underway.