Nov 7, 2014

Building Concepts II Course CMCC- 12' x 24' Smart Side Gabled Storage Shed Building Week 7


 Monday Nov 3, 2014. In these photos you can see our 12'x 24' storage building beginning to take shape. Above is a photo of our platform and continuing on are photos of the wall assembly and different components wall framing.


Here are the different terms of wall members. You have two Jack Studs on the end there. Jacks are the members in wall frame that hold up the header over an opening. Occasionally they are doubled up for added strength, which is what we chose to do. A King Stud is a stud that is running fully from top plate to bottom plate and it is what the jack studs and header are fastened too. The Bottom Plate (BP) or Sole Plate is what makes up the bottom horizontal wall section. It is almost always made with pressure treated lumber because it is crucial that it doesn't ever break down or rot away.


 In this photo a classmate, Garrett, and I are assembling the header for the opening for an overhead door going onto the front of the building. You can see in the left corner of the photo we have clamps on the two wood pieces holding it flat to reduce the cupping in the wood before we screwed it together. 


 Above you can see the nailing schedule we followed and I will explain why if the picture wasn't clear enough. We chose to fasten the header together similar to the way a girder is assembled. Our end-of-member screws should be offset away from the edge to prevent splitting and to be even more careful we pre-drilled our screw holes. All of this was because we have 4 nails coming into each end of the header to fasten it to the king studs. So to make sure no splitting happens we pre-drilled and setback the screws so the 3-1/2" screws do not hit our assembly fasteners.


Smart Side, similar to T1-11 Panel Siding


Here, the building is near completed assembly


Nov 2, 2014

Building Concepts II course CMCC- Bigger Floor Systems Week 6

This week in total we have almost completed 4 different flooring systems with one more order for a 5th. The largest building of all of these different flooring systems we have been working on will be delivered to Readfeild, ME towards the end of November. The pictures below will display this weeks progress that was made on that larger project.  


Here we have assembled all of the three sections of collectively making the entire flooring system 12 feet wide by 24 feet long. We then broke it down and moved it to the bay inside CMCC's Building and Construction Shop where we continued the construction of the blocking and skids. 

In this photo I am screwing in 6" lag bolts through the skid and into the doubled box header. We recessed a hole, using a forstner drill bit, into the skid so the screw would counter-sink into the wood keeping the screw off the floor or ground when it is flipped right side up.   


Here you can somewhat picture our three sections of platforms flipped outward so we could install the blocking and 4" x 4 " pressure treated skids. 


Heads up.. this video is sideways!


Week 6 Progress! 

Oct 26, 2014

Building Concepts I course CMCC- Floor Systems and More Flooring Systems Week 5


These photos are of the flooring system we built over the hill where all of our other projects have taken place for the first half of the semester. That day we were assigned to finish installing the joists and complete it as the weather was turning bad and Monday was our only day! We did finish and got the sub-flooring over the structure. 


Wednesday brought more squaring exercises with not-square 4'  x 8' sheets as part of our bi-weekly competency testing. 


In the next series of photos we are beginning the constructing of a building that we will hopefully be finishing at the end of the fall semester. Its an 8' x 12' flooring system that is to be hauled off by a special truck designed to carry away buildings of a movable size. 


I am nailing the rim joist to the joist members with 16d Galvanized Box nails.


In these photos you can see the floor system has gotten more complicated looking. The braces that are staggered 4 spaces between the joists are blocks for the skid to fasten too. A Skid is a rail or a skii if you will that will allow a truck to pull it onto its bed and transport it. The skid is going to be a         4" x 4" piece of pressure treated lumber. 


The diagonal braces in the photo up and down are for holding a rectangle or square structure "square." Equal lengths, widths and diagonals. While moving it or flipping it.   


Its a little bit hard to make out but This is a blue print or draft of the floor systems we were instructed to draw. Before anything is built it needs to be imagined fully so that nothing is missed or over looked. In my Building Concepts course and Construction Doc. and Print Reading course and expression I have heard many time is, "build it in your head before you really build it." 


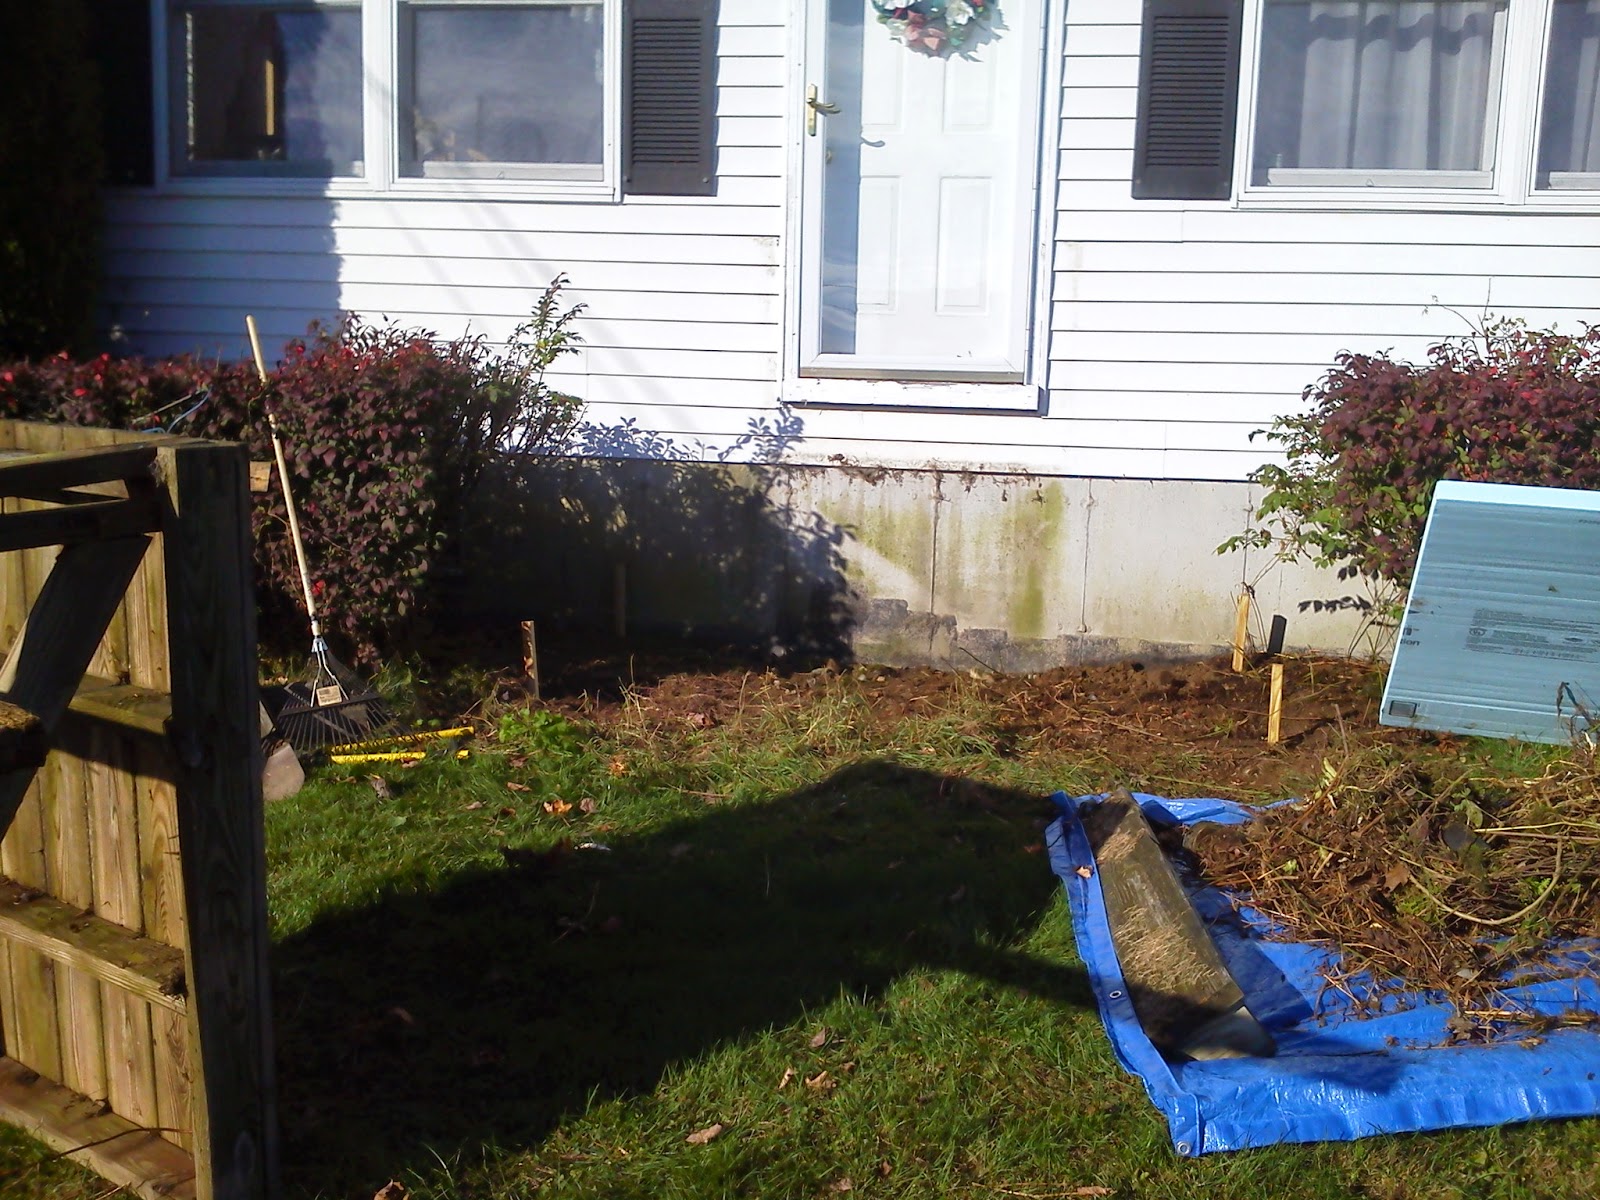
Porch and Steps Replacement


 Here is the sketched plan I emailed her to be sure she and I were on the same page for what the outcome was to be. 


This is the deck on the side of the home that had more thought put into its design. This was my template for the construction of the new front deck and stairs. I aimed to make the steps I built to look complimentary to these.


Mortise and Tenon 


Here you can see I chose to mortise and tenon the top and bottom rails on both the deck railings, using a router.


I pre-fabricated the deck and stairs in my garage before I installed it. By building it this way I was allowed more time to construct it and make changes/adjustments as needed. Doing some of these things at a clients house may take more time as you might not carry that tool or have that vice. Also doing this made it a breeze to install, It broke down into 6 movable pieces. 


Here I am pluming in the door to the posts in the ground that will be evenly spaced to hold the deck.


Doesn't get any better then that! 


Picking up nails! 


The finishing touch! 
If when your done putting all of this nice wood together and the client gets a nice big splinter because of those well built wood railings then she will be painfully reminded of the first time she went up them if they aren't soft to the touch.