This week our focus we set on completing the Hip/Valley Roof System mock up. Our tasks were to calculate the five different hip/valley member ahead of time with given building dimensions. Based on what we have been taught about determining opposite interior and exterior angles inside of a rectangles.

_________________________________________________________________________________
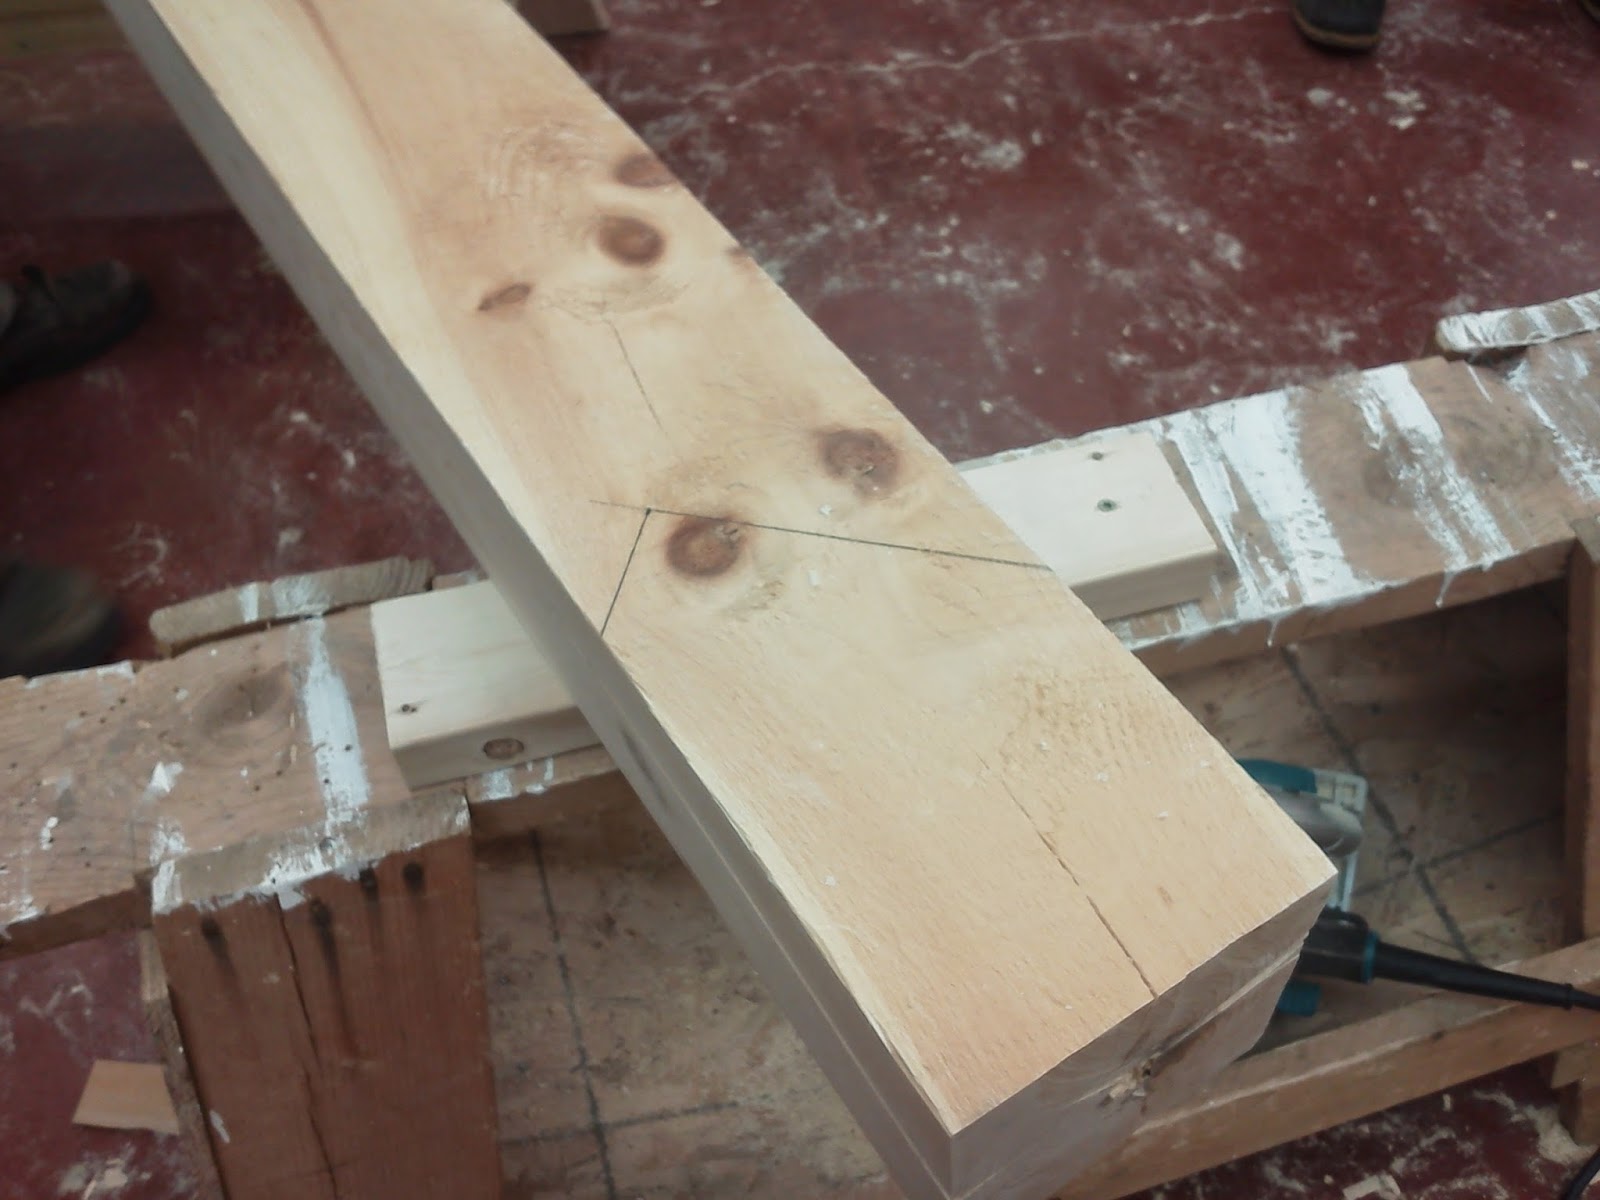
Hip- Valley Cripple Jack Rafter
With regards to this image you can see a cheek cut, which is the line going at a 45 degree angle across the middle top of the member. The lines it crosses through are important as they are reduction lines for the hip rafter. Whenever a line length is determined you must take into account that members thickness so that the other member meet and connect perfectly. So to calculate angled reductions we determined that 1 1/16th" of an inch is the amount necessary to put you inline with the member on a 45 degree angle. Next you need to bring that back half the member thickness, in this case it was 3/4" and that butts you up right along the hip perfectly.
_________________________________________________________________________________
Valley Rafter Seat Cut
Valley Layout Rule: Always add 3/4" (half the thickness of the member) to the plumb seat cut line. This accounts for where the member is going to sit tight to the inside corner of the building provided they are cut on 45 degree angles pointing toward the building.
_________________________________________________________________________________
Valley Rafter Tail Cut
Here is a series of layout and cut images of a valley rafter tail cut. Valley rafters are calculated using the same unit run as a hip, 16.97". With the given information that the roof system was a 5/12 slope, 5" rise for every 12" of run. Determining the valley line length requires you to replace the 12" run with 16.97". Now its a 5/16.97 slope. Using Pythagorean theorem we are able to calculate the line length and overhang to know what rough length member we will need to cut our valley or hip from.
_________________________________________________________________________________


 You can see we dry fit them on the ground before erecting them on our building. Also for our birds mouth cut since their is not going to be any overhang assemblies we are going with a plane-old birds mouth cut only the plumb cut is on the opposite end-edge of the timber. This is because when it is in place, the rafter ca not slide off the plates or top girder. See the photos below to better understand what I am trying to explain.